Routing & Load Balancing
When a model is backed by more than one deployment — the same model at two providers, or a primary with a backup — Routero sends each request to one of them and spreads the load. It steers around deployments that are erroring and retries elsewhere if a call fails.
You don’t pick a deployment per request. You group deployments under a single Public Model Name (the name you call), and configure how Routero chooses among them on each virtual key.
This is load balancing — choosing a deployment behind one model name. Auto Router is different: it picks which model to use based on what the user asked. The two work together.
Model groups
A model group is a Public Model Name backed by one or more deployments. To create one, add models and give them the same Public Model Name — for example two entries both named openai/gpt-5.5, one pointing at OpenAI and one at Azure OpenAI. Requests for openai/gpt-5.5 are then shared across both, and if one provider has trouble, traffic moves to the other.
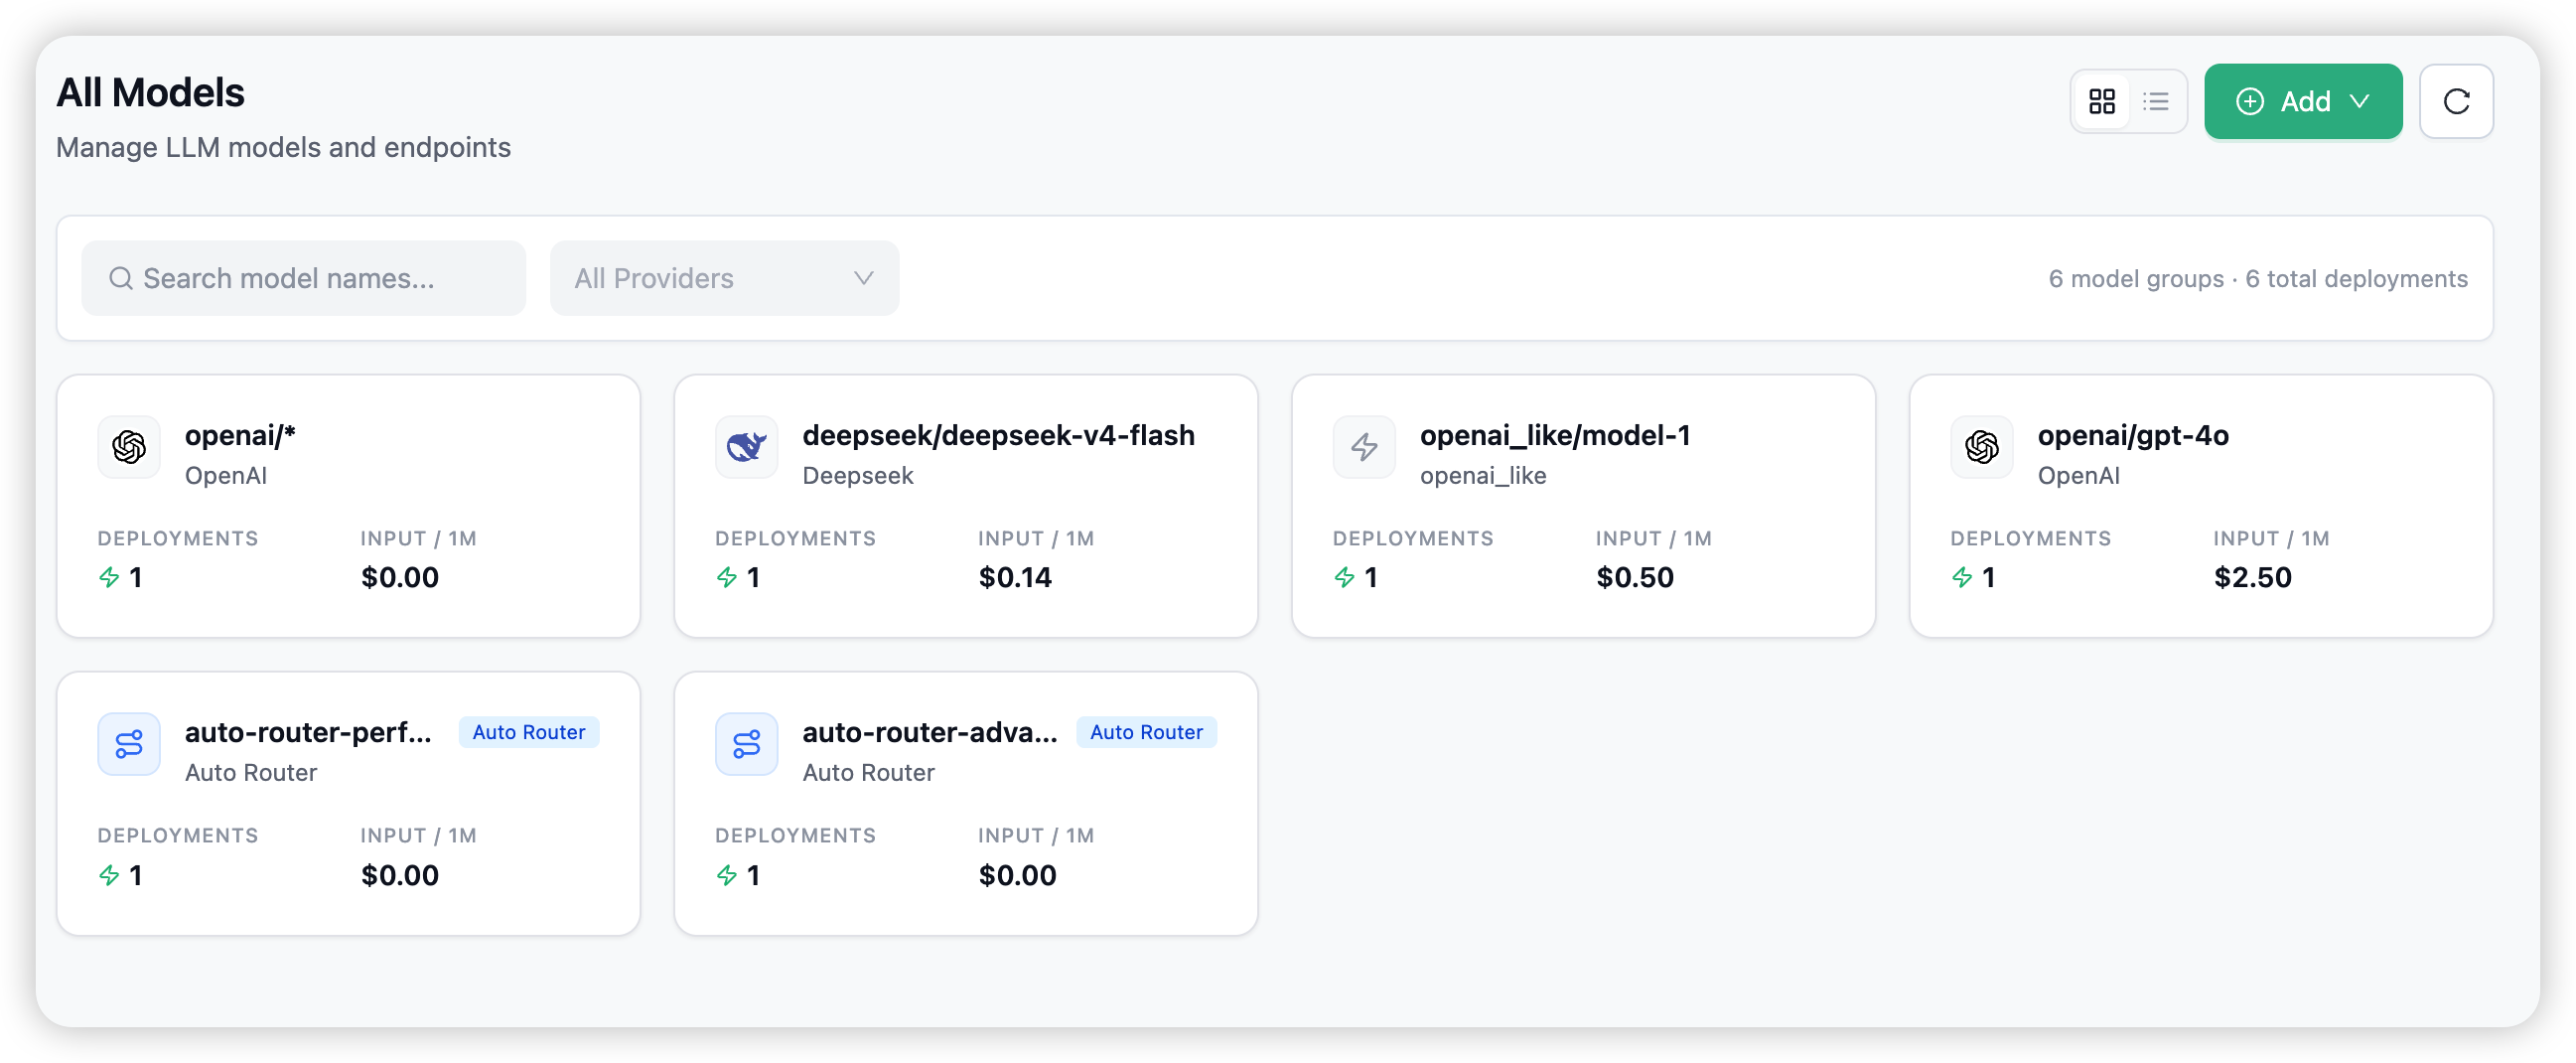
On the Models page, deployments that share a name collapse into a single card. You see the number of Deployments and the providers behind it, and the toolbar tallies the totals across all your groups.
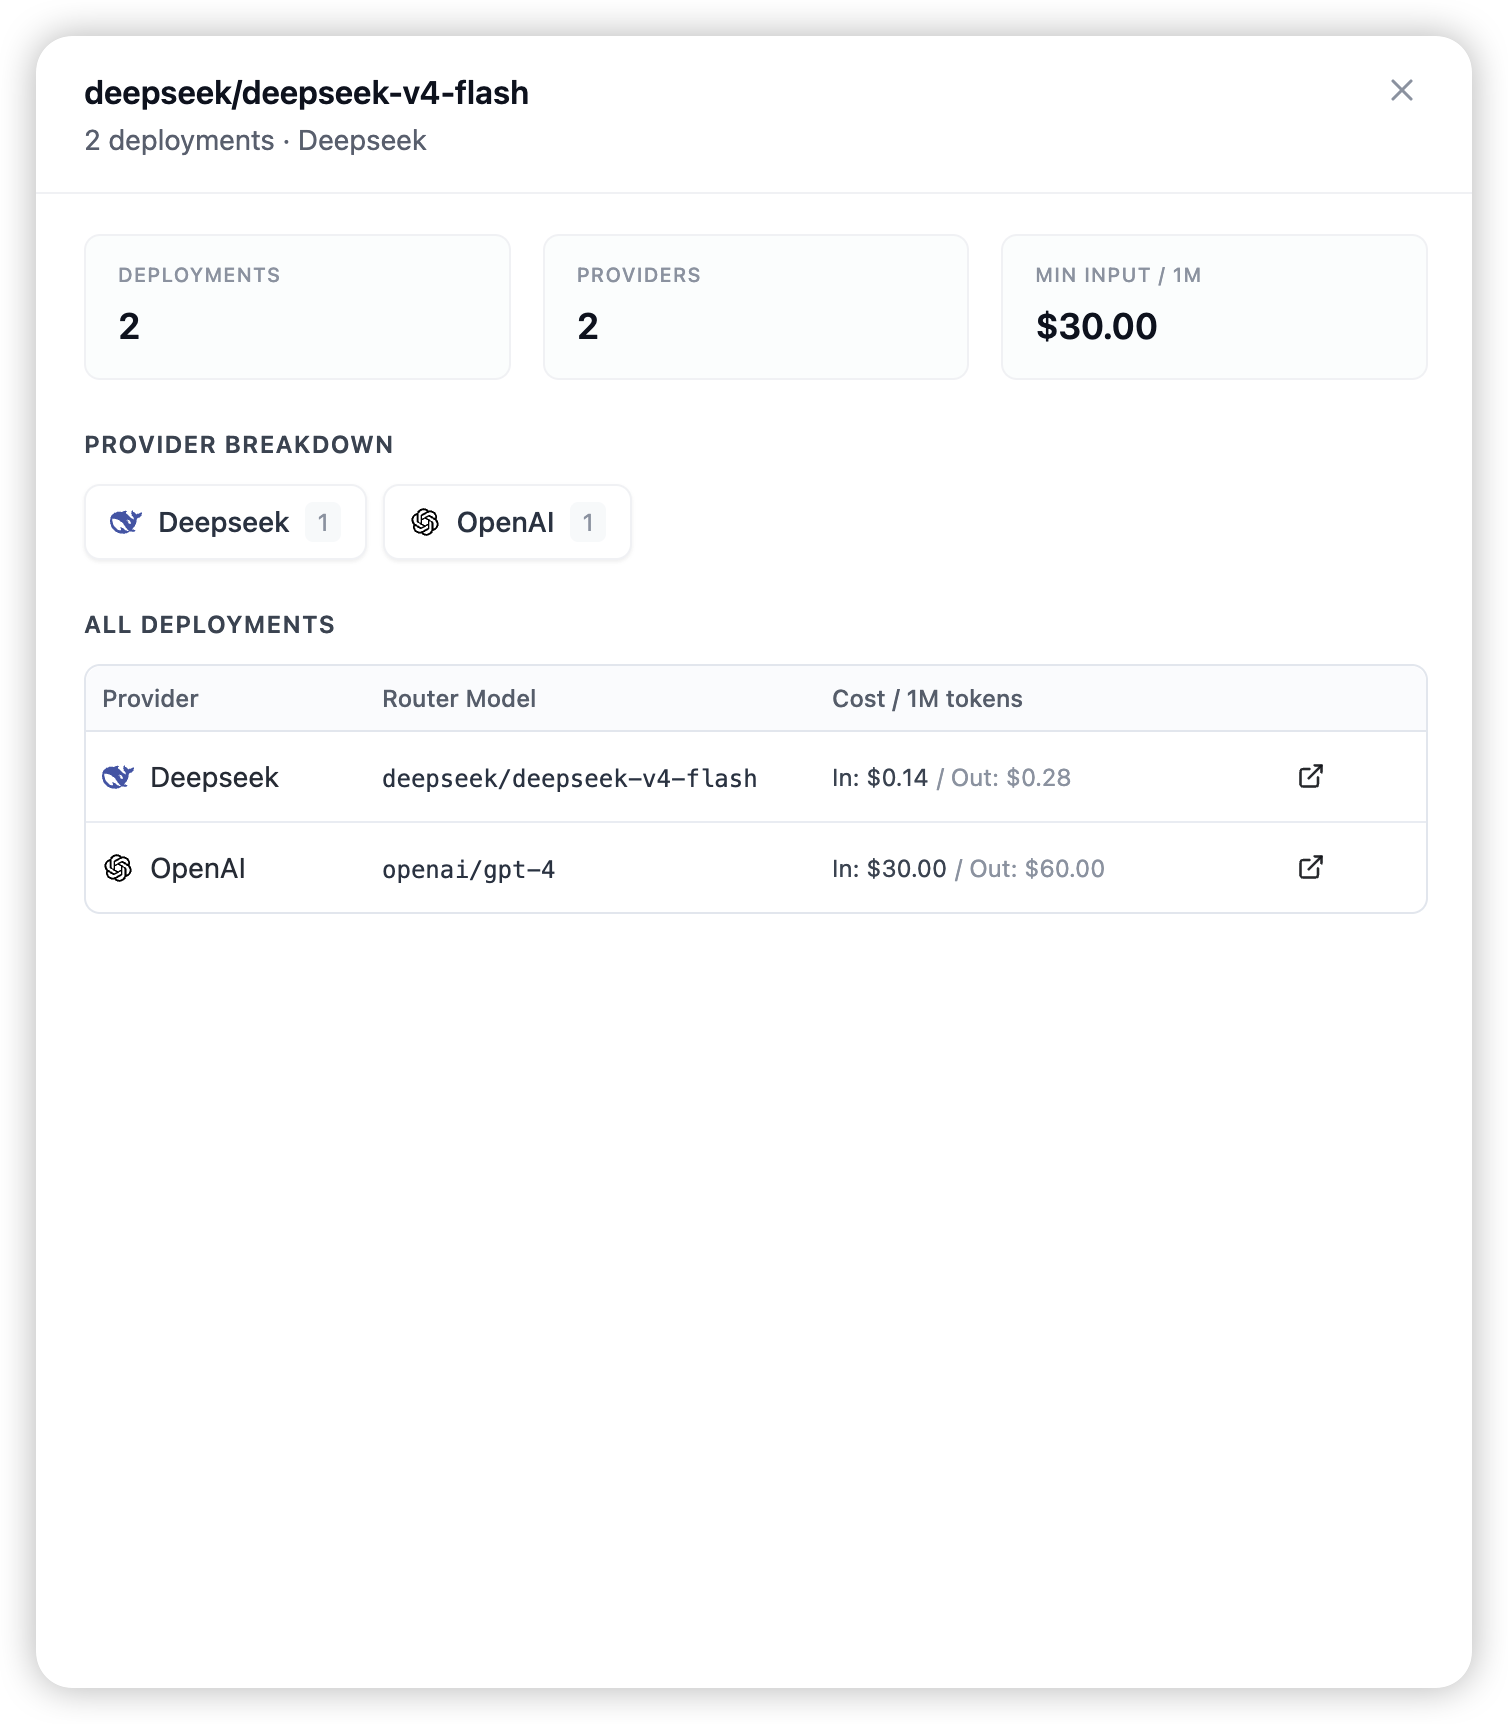
Click a card to open the group: it lists every deployment behind the name — its provider, the underlying model, and the cost.
A name with a single deployment simply routes every request to that one deployment.
Load balancing
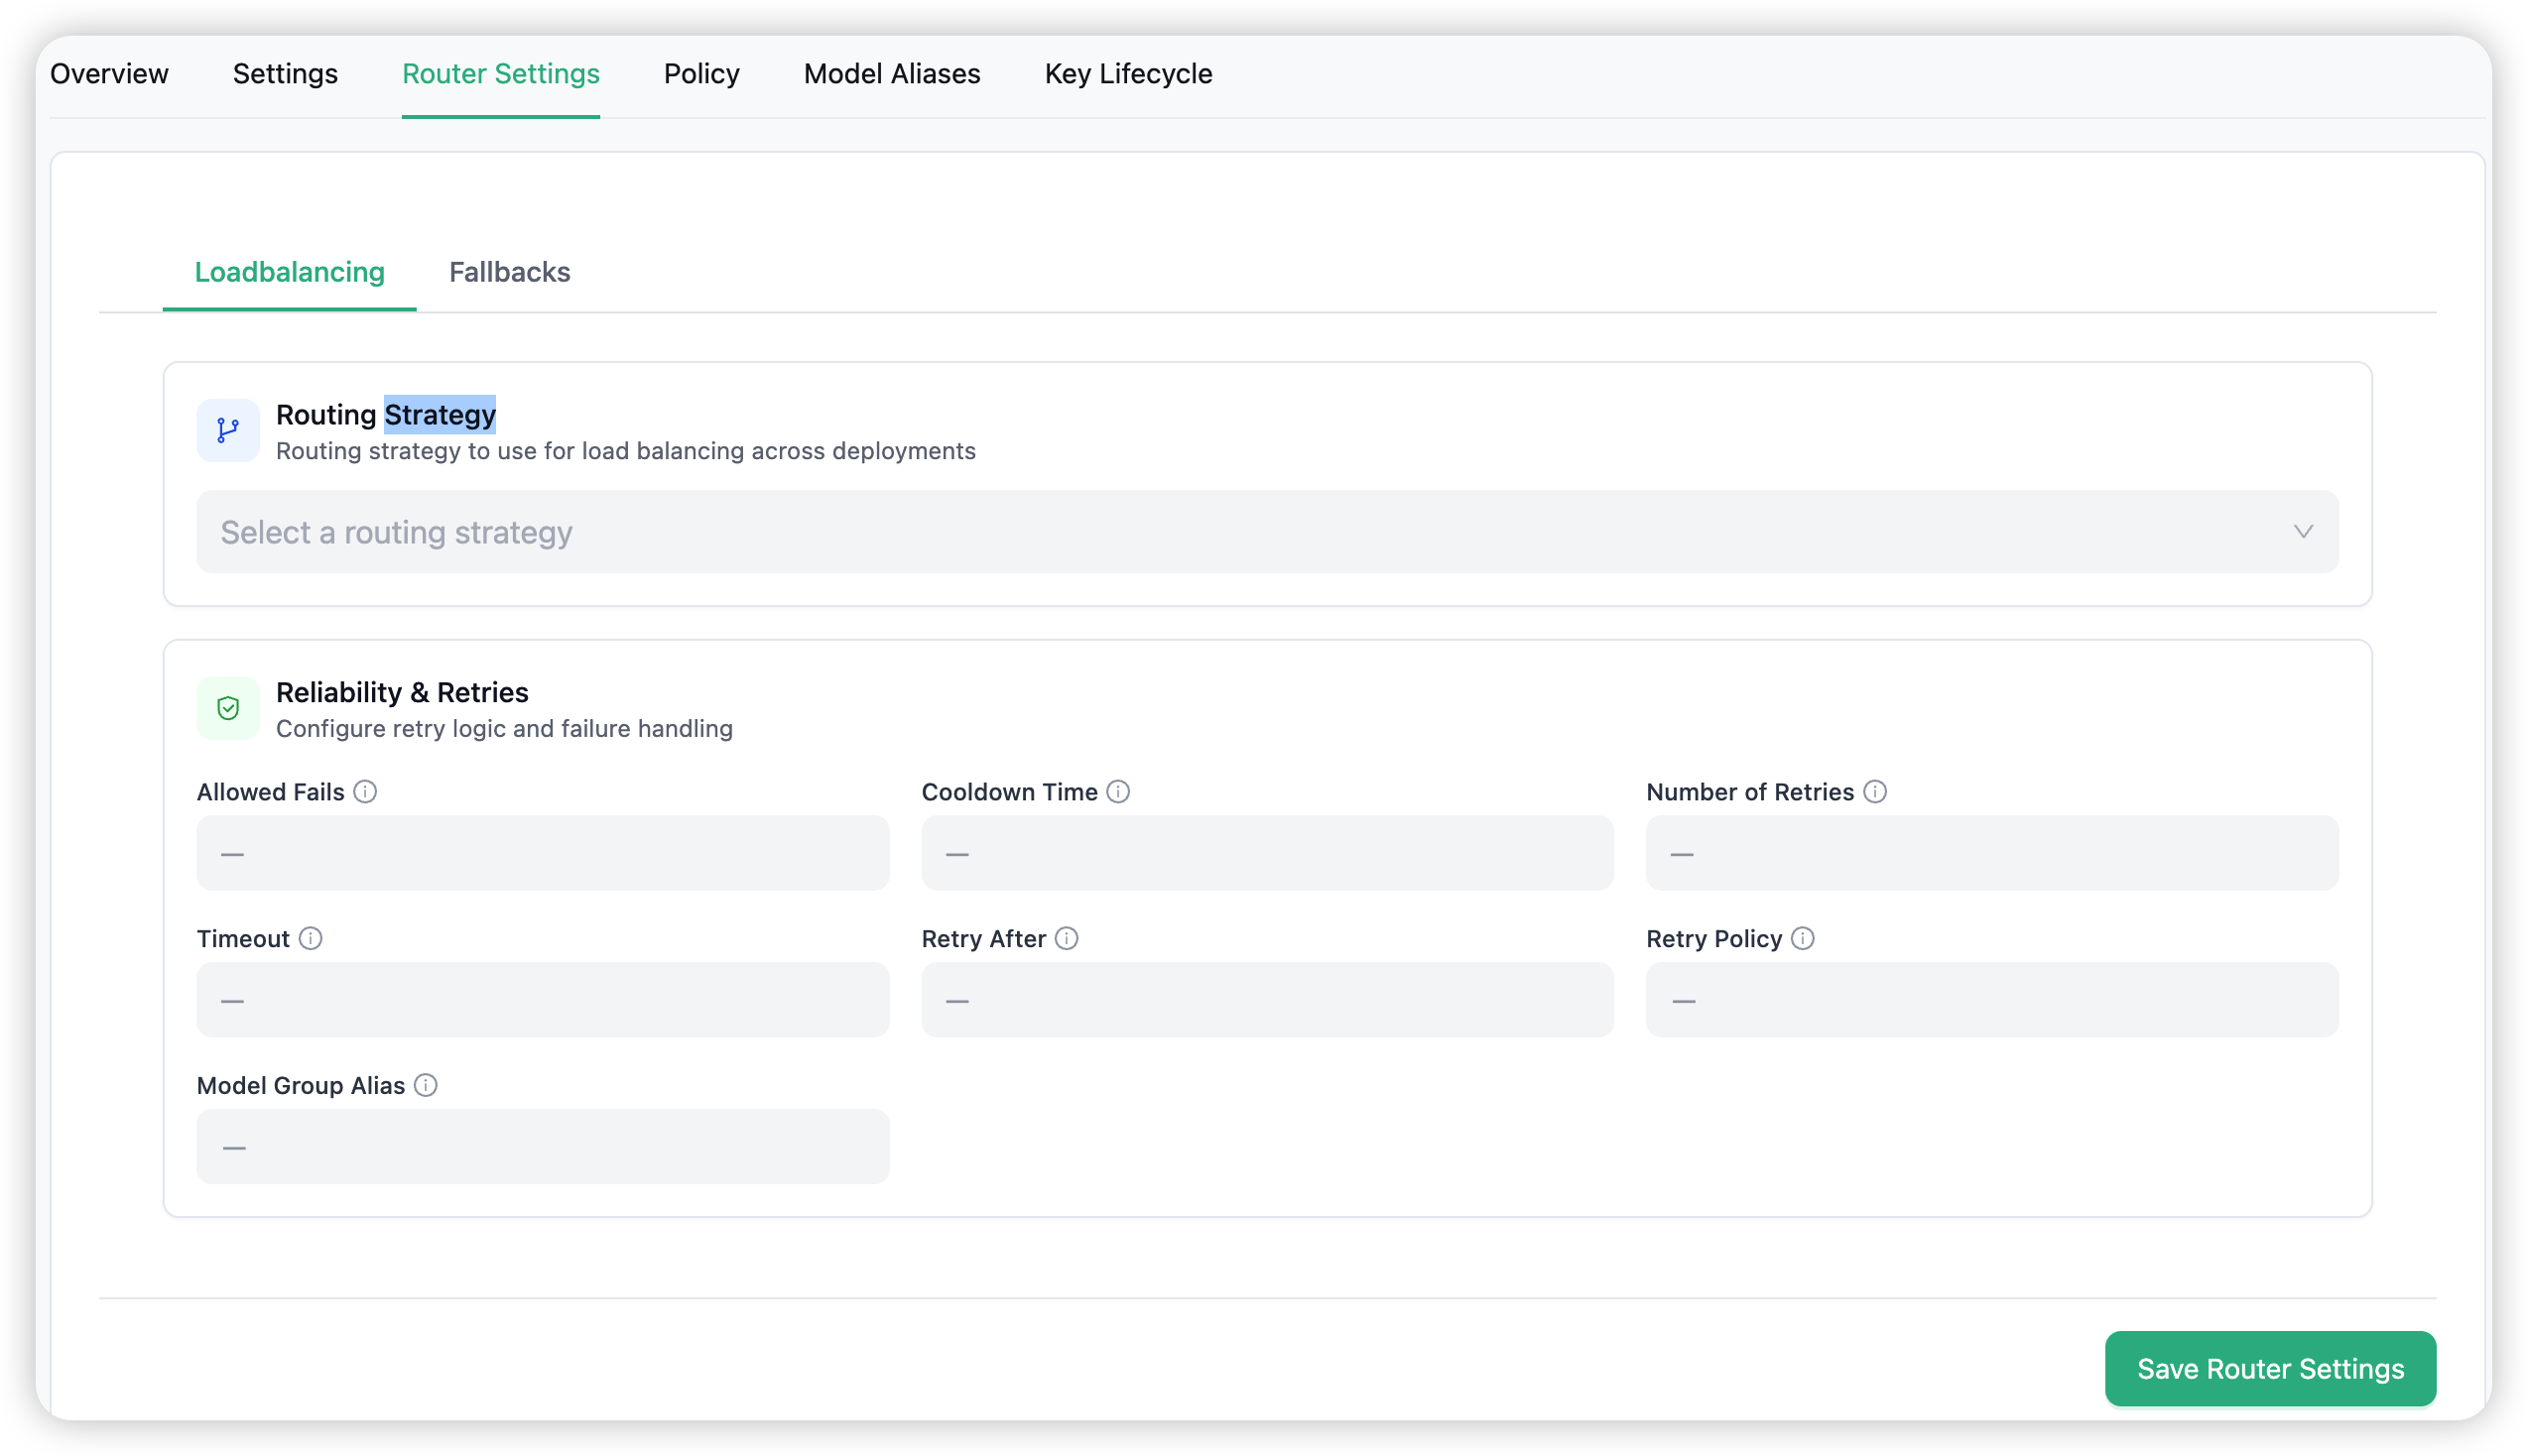
Load balancing is configured per virtual key. Open a key’s detail page, go to the Router Settings tab, and open the Loadbalancing sub-tab. The strategy and retry settings you set there apply to every request made with that key.
Routing strategy
Choose how Routero picks a deployment from the model group:
| Strategy | What it does |
|---|---|
| Simple Shuffle | Randomly picks a deployment from the list. Simple and fast. |
| Least Busy | Routes to the deployment with the lowest number of ongoing requests. |
| Latency Based Routing | Routes to the deployment with the lowest latency over a sliding window. |
| Cost Based Routing | Routes to the deployment with the lowest cost per token. |
| Usage Based Routing | Routes to the deployment with the lowest TPM/RPM usage across instances. |
Use Simple Shuffle for an even spread; Least Busy or Usage Based to keep one provider from being overloaded; Latency Based for the fastest response; and Cost Based to favour the cheapest deployment.
Reliability & retries
The same tab tunes how failures are handled for the key:
- Allowed Fails — how many times a deployment can fail before it is cooled down (taken out of rotation).
- Cooldown Time — how long a failed deployment stays out of rotation.
- Number of Retries / Timeout / Retry After — the retry count, per-request timeout, and minimum wait between retries.
For ordered fallback chains (model A → model B → model C), use the Fallbacks sub-tab on the same screen — see Failover & Fallbacks.
Health and failover
Routero tracks each deployment’s health. When a deployment crosses your Allowed Fails threshold, it is cooled down for the Cooldown Time you set, and traffic flows to the healthy deployments automatically.
If the deployment serving a request fails mid-call, Routero retries on another deployment in the same group, or moves to the next model in your fallback chain — see Failover & Fallbacks.
You can also run an on-demand Health Check from the Models table to confirm each deployment’s current status (healthy or unhealthy).

Combining with the rest of the gateway
- Auto Router — choose the model by the user’s intent, before load balancing. → Auto Router
- Failover — retry on another deployment when one fails. → Failover & Fallbacks
- Policies — attach guardrails, prompts, memory, or token saving to a model group. → Policies