Quickstart
Get your first request through Routero in three steps: add a model, create a key, then use that key from your application. If you already use the OpenAI SDK, the last step is a one-line base_url change.
Prerequisites: an organisation administrator account, and a provider already assigned to your organisation. Routero is invitation-only, and a model references a provider key your platform admin has assigned — ask them if the provider you need isn’t listed.
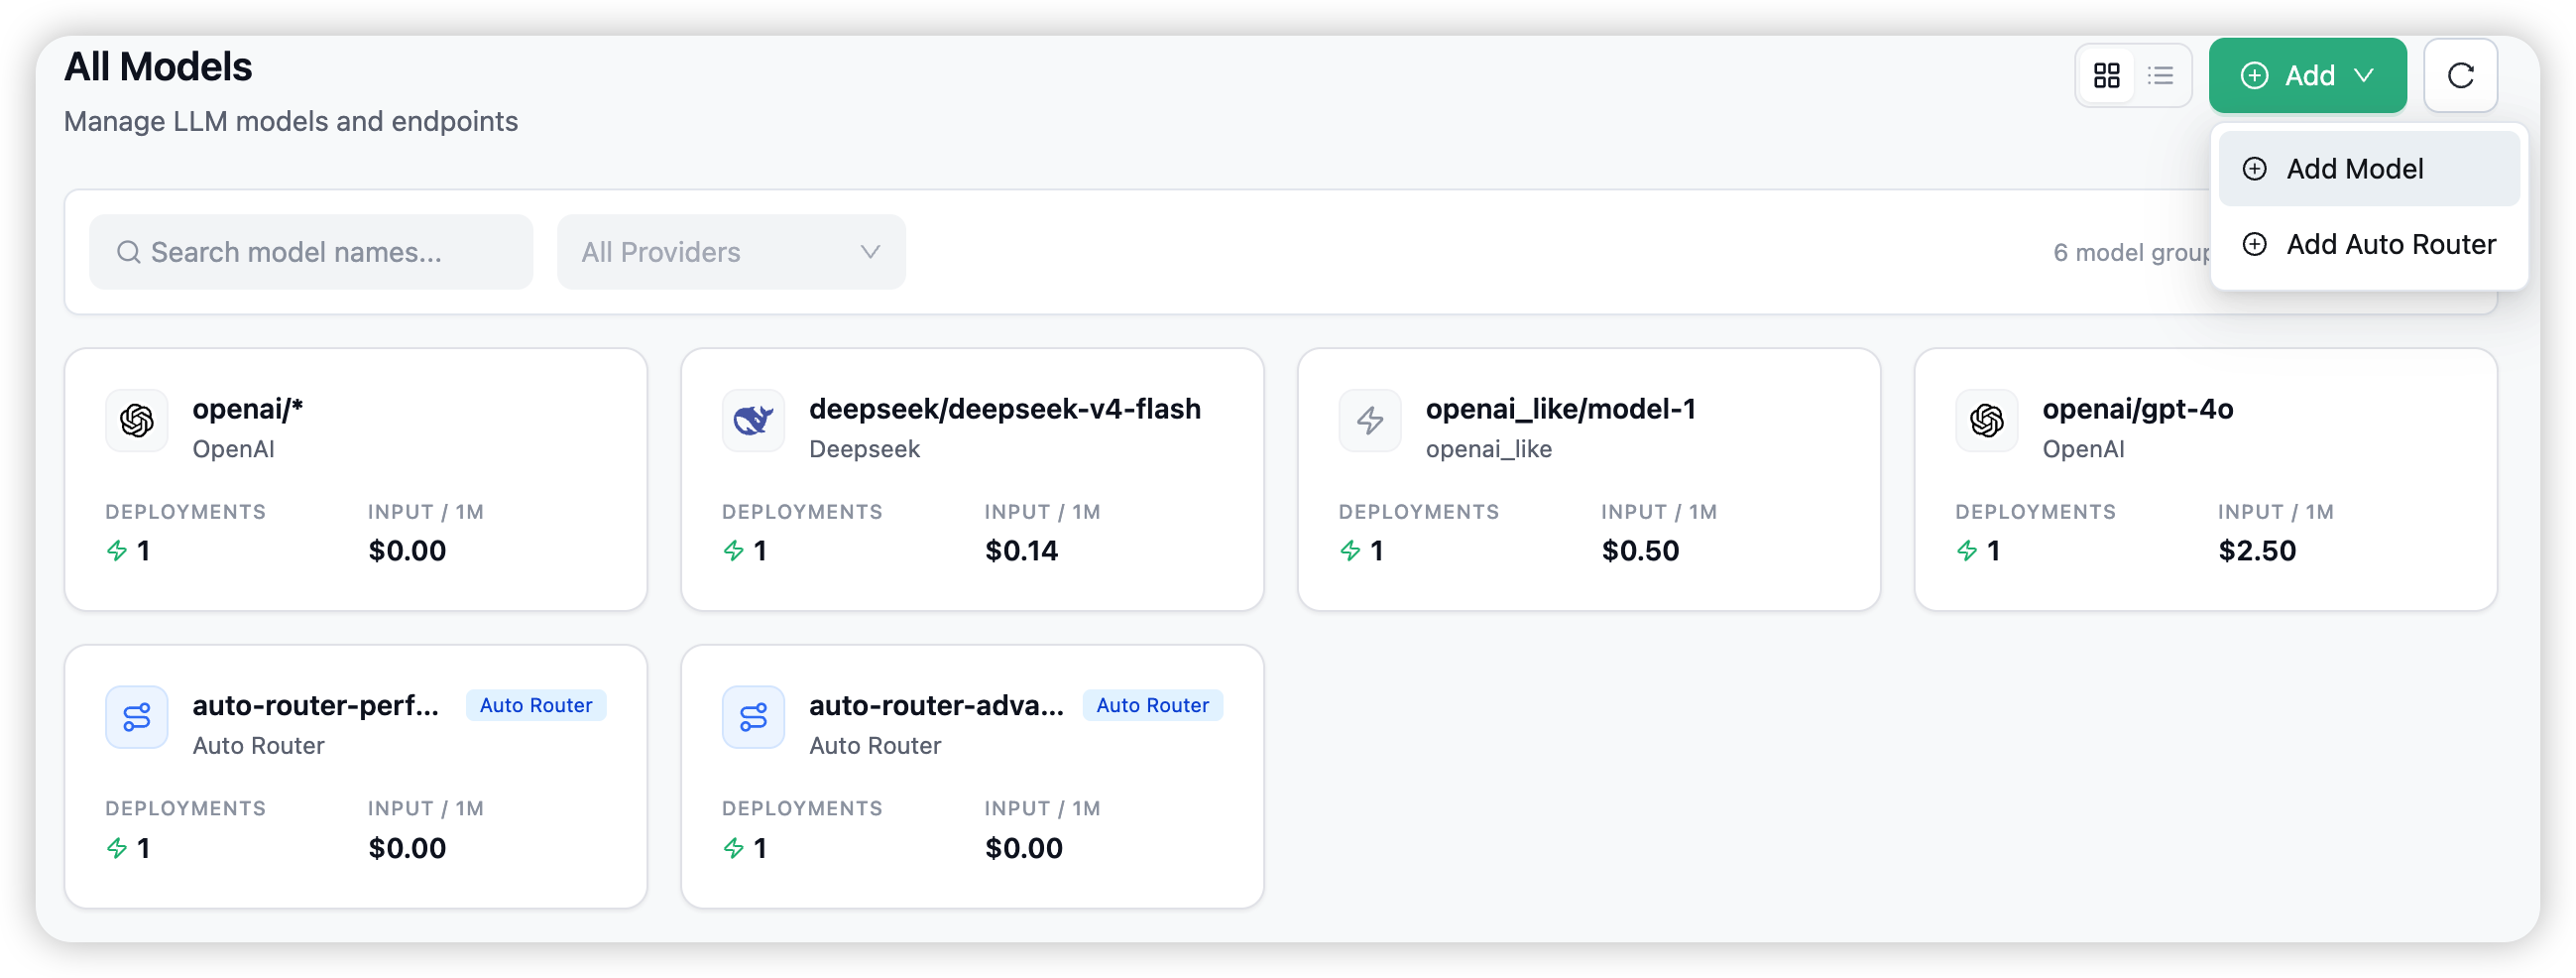
Step 1 — Add a model
Open Models in the sidebar and choose + Add Model.
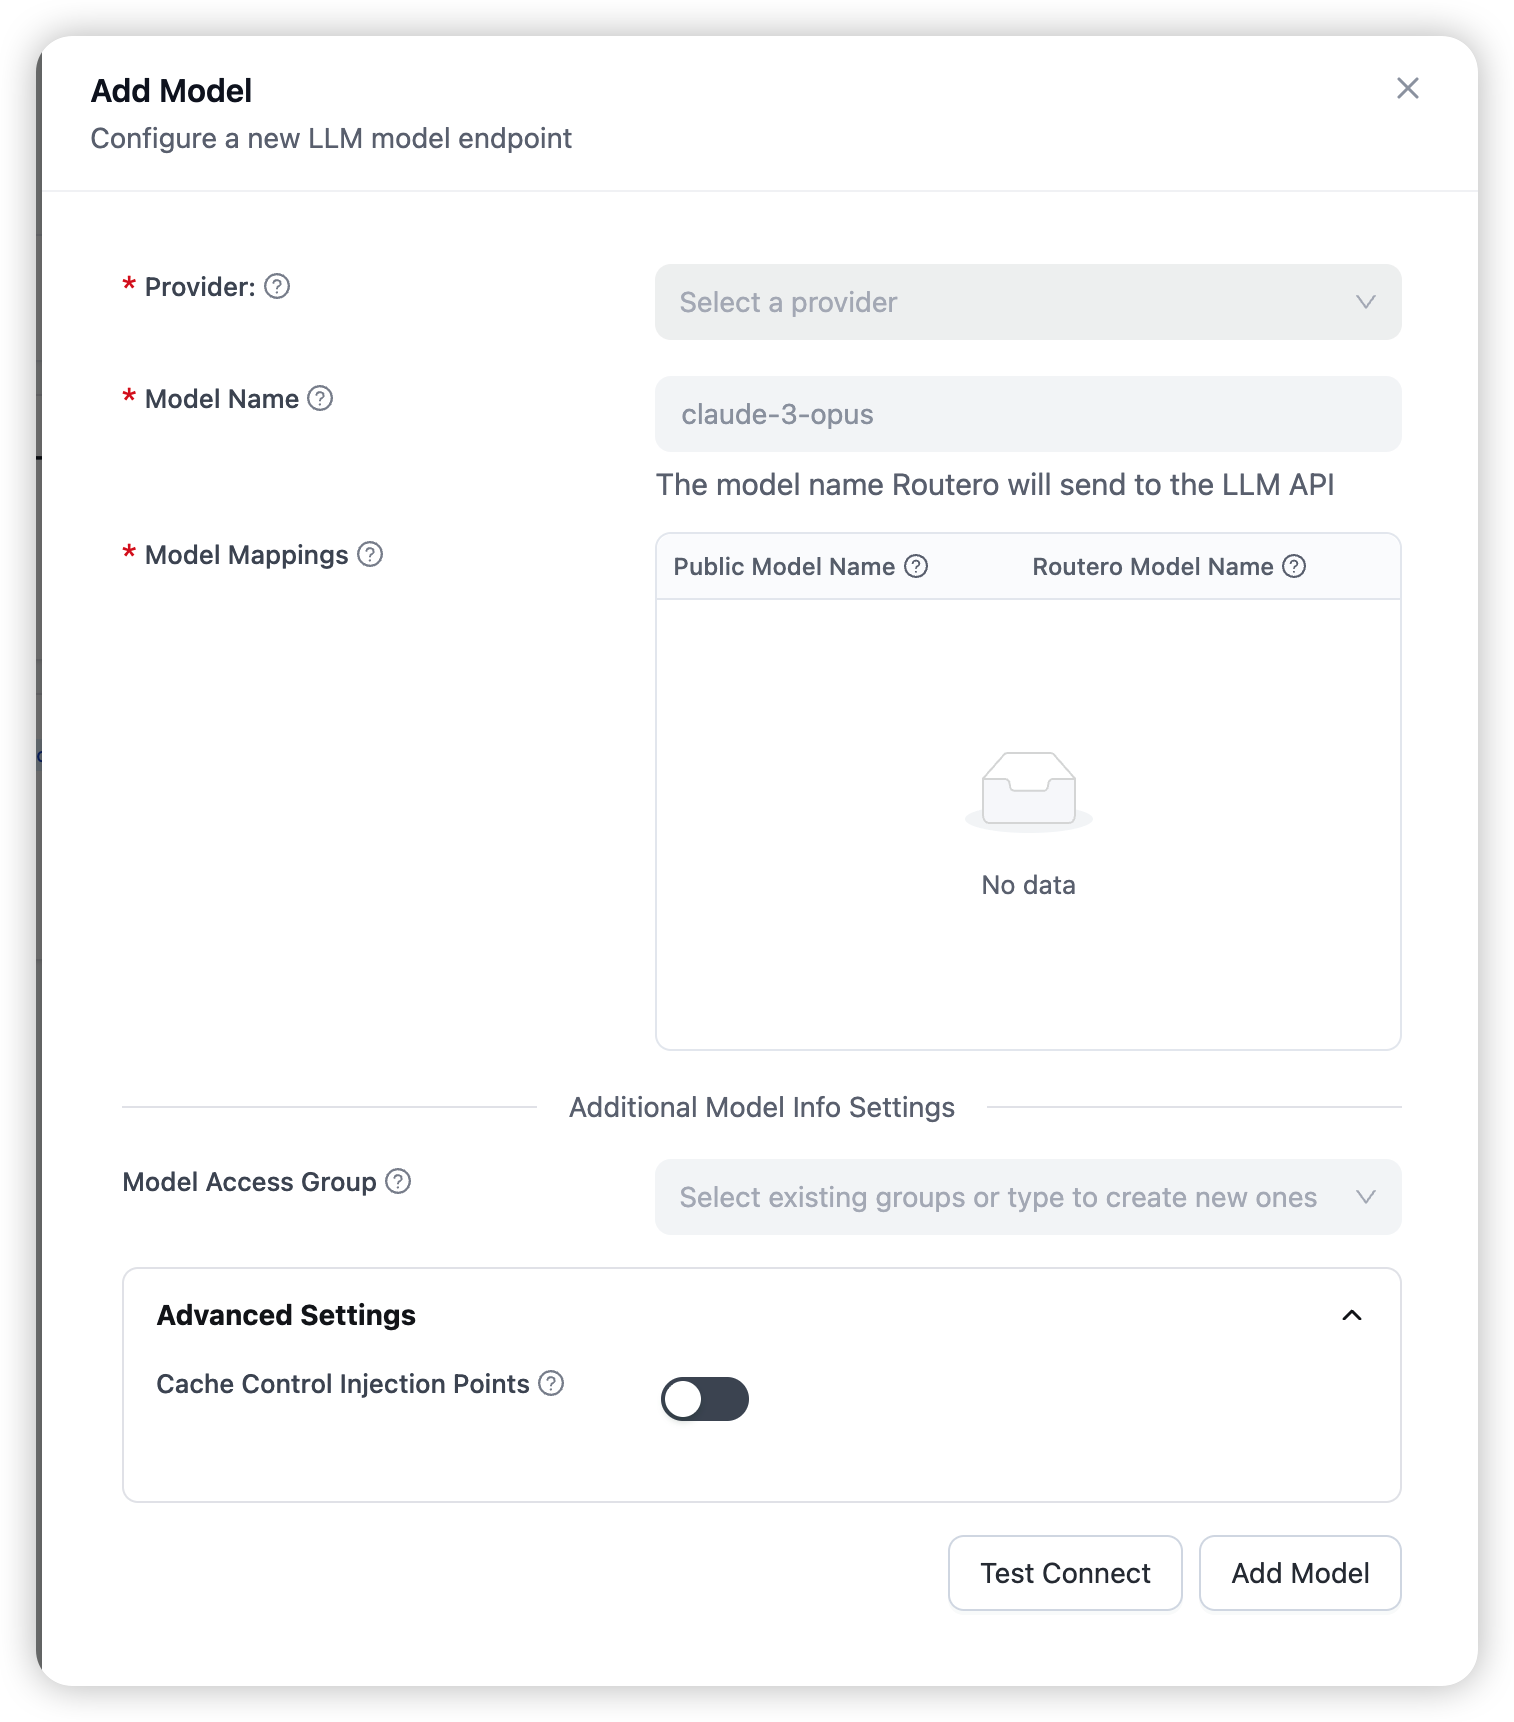
In the Add Model drawer:
- Provider — pick a provider assigned to your organisation.
- Model Name — choose a model, or “All {Provider} Models” to expose them all.
- Public Model Name — the alias your application sends to Routero. This is the
modelvalue you’ll use in Step 3. Keep the default or rename it.
Leave the rest as defaults and click Add Model (use Test Connect first to verify the provider is reachable).
No providers listed? Your platform admin hasn’t assigned a provider key to your organisation yet — ask them to add one.
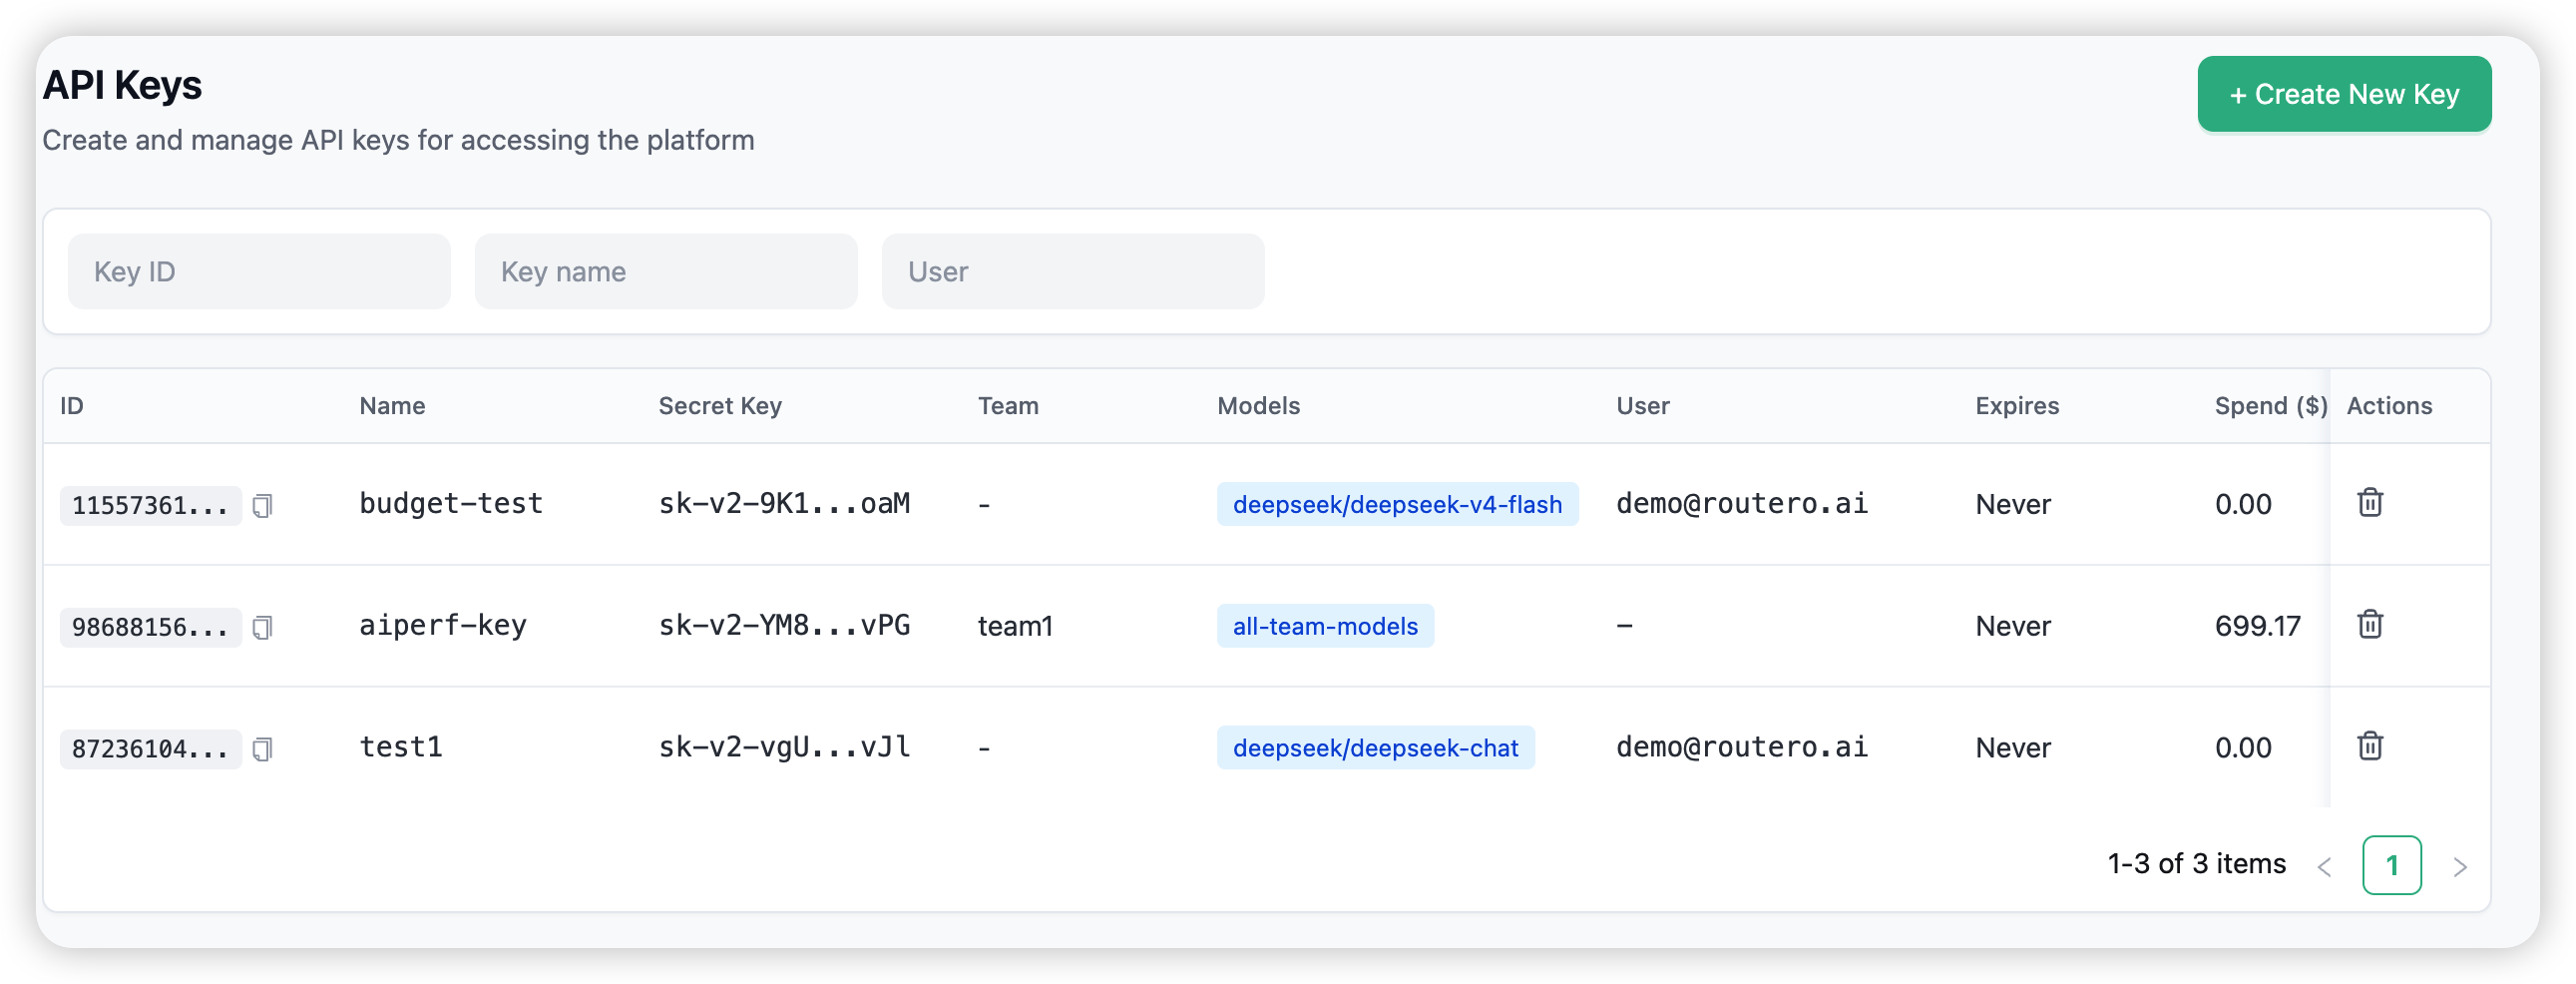
Step 2 — Create a key
Open API Keys and choose + Create New Key.
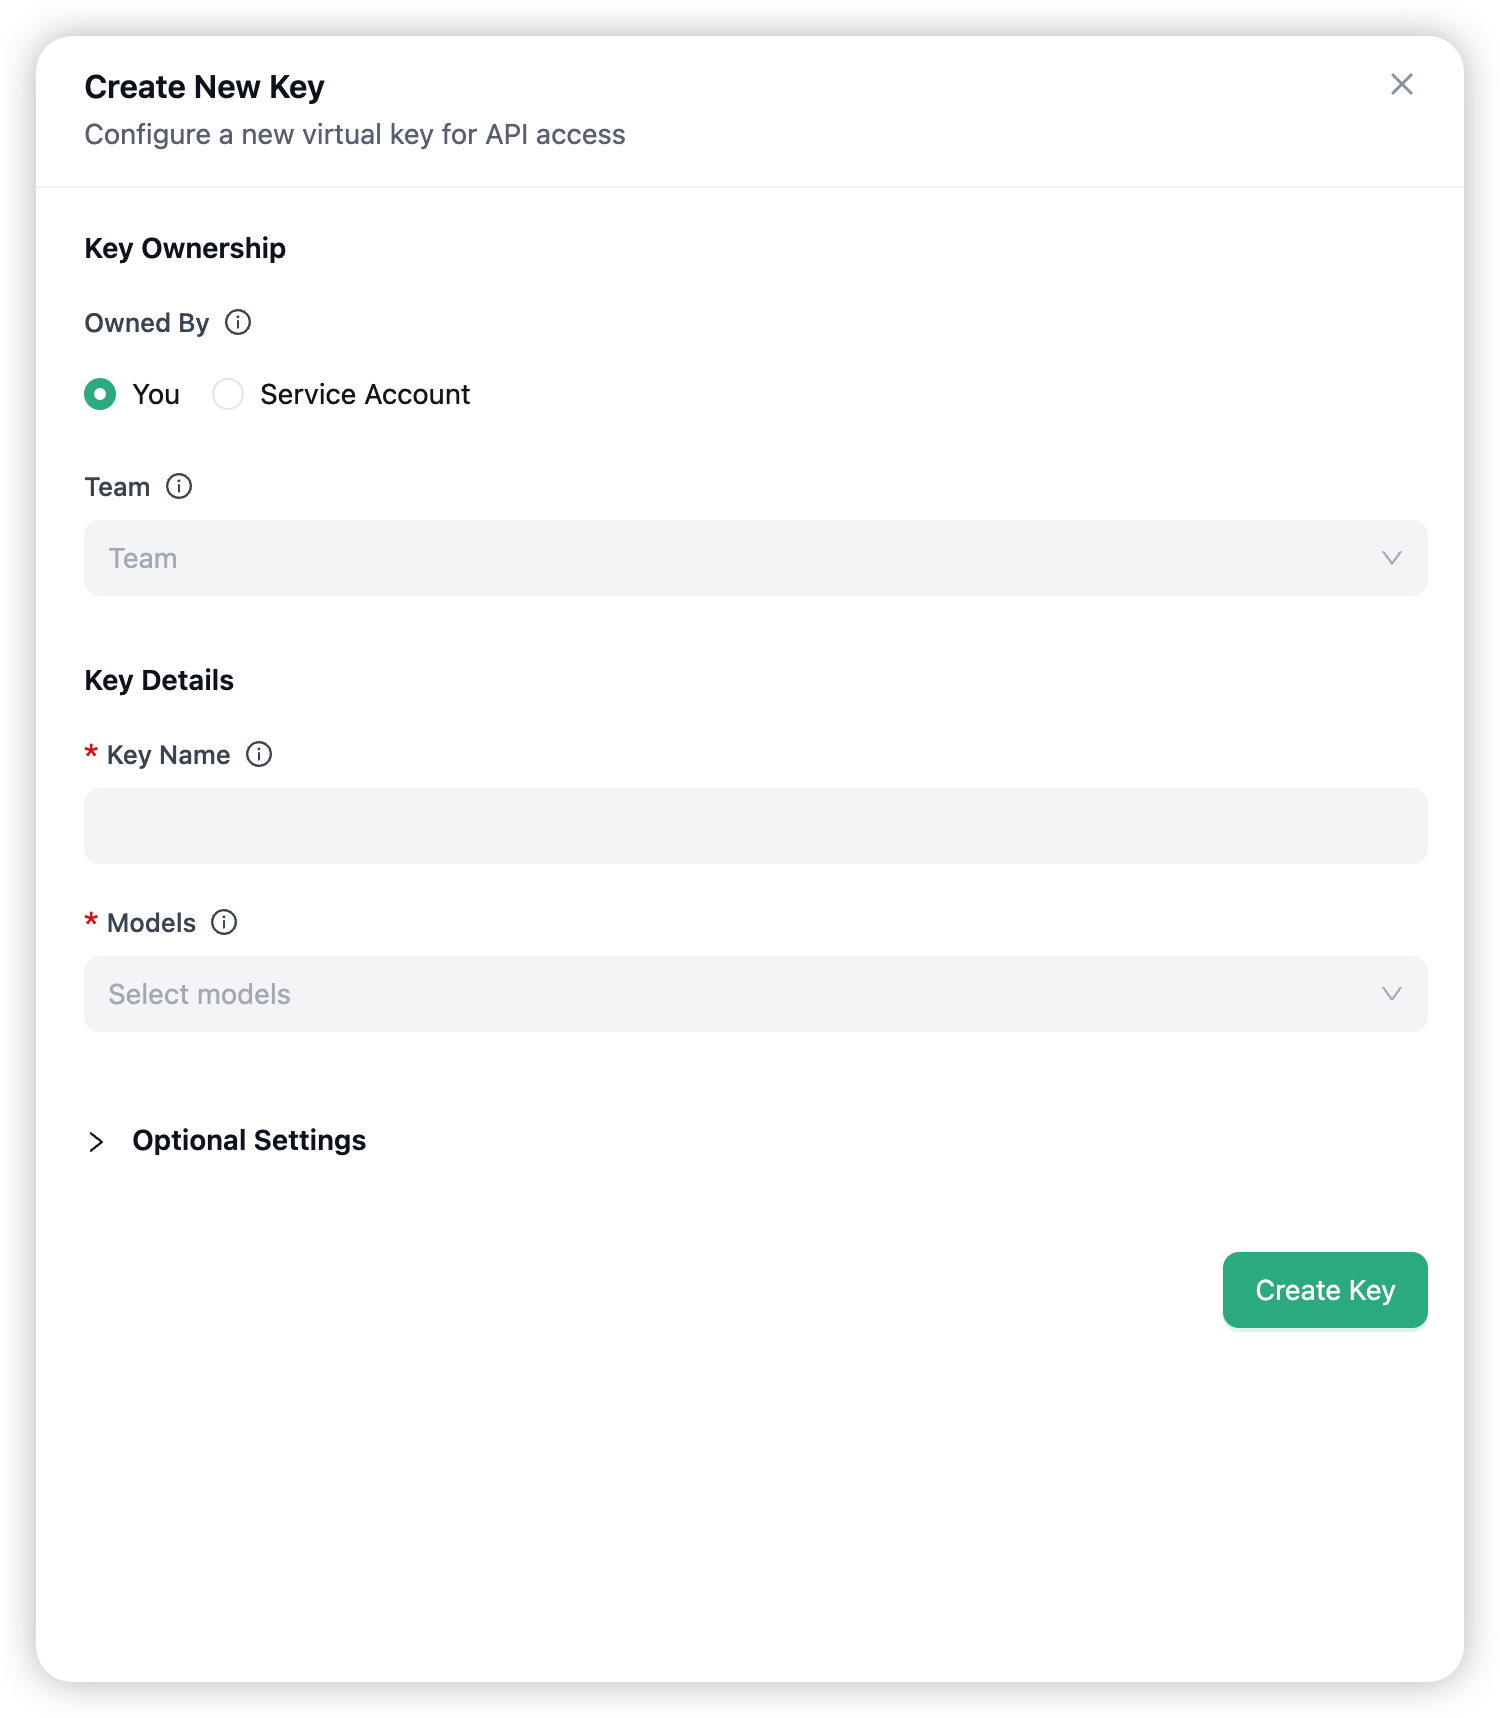
In the Create New Key drawer:
- Key Name — a label for the key.
- Models — which models the key can call. “All Proxy Models” by default, or pick specific ones.
- (Optional) Budget & Rate Limits — cap spend or set TPM/RPM limits.
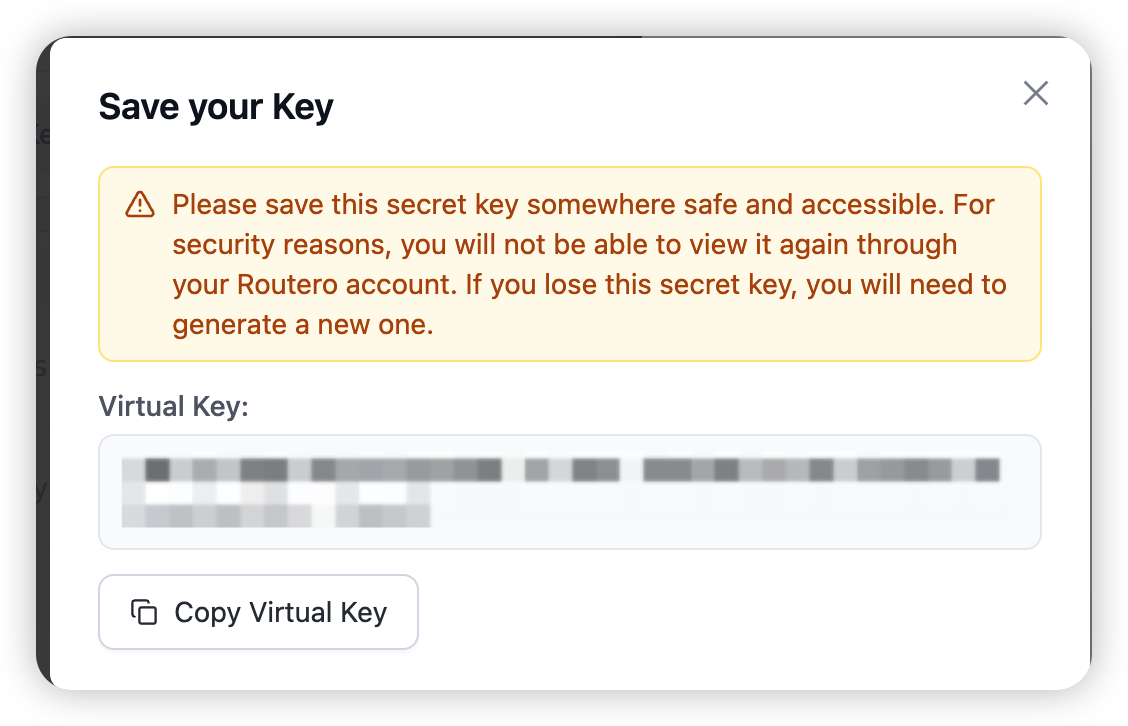
Click Create Key. A Save your Key dialog shows your new virtual key (sk-…) — copy it now; it is shown only once.
Step 3 — Use the key
Point any OpenAI SDK — or a plain HTTP client — at Routero with your key, and request the Public Model Name you set in Step 1.
from openai import OpenAI

client = OpenAI(
    api_key="sk-...YOUR_KEY...",          # the virtual key from Step 2
    base_url="https://api.routero.dcsmartvision.com/v1",
)

response = client.chat.completions.create(
    model="openai/gpt-5.5",               # the Public Model Name from Step 1
    messages=[{"role": "user", "content": "Hello!"}],
)
print(response.choices[0].message.content)
curl https://api.routero.dcsmartvision.com/v1/chat/completions \
  -H "Authorization: Bearer sk-...YOUR_KEY..." \
  -H "Content-Type: application/json" \
  -d '{
    "model": "openai/gpt-5.5",
    "messages": [{"role": "user", "content": "Hello!"}]
  }'
The request shows up in your platform dashboard usage and spend views. See Inference APIs for the other endpoints (embeddings, images, models).
Next
- Route your coding assistants through Routero — Cursor, Claude Code, Codex.
- Add AI capabilities (guardrails, prompts, memory, caching, knowledge bases, web search) — AI Capabilities.
- Set a spend budget — Budget Limits.